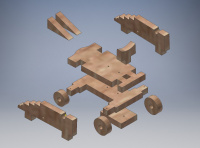
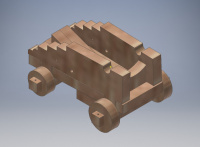
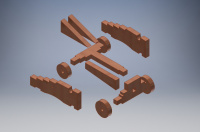
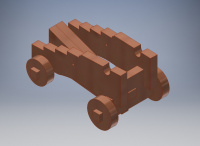
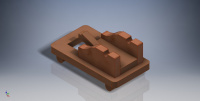
Gun carriages manual
Recommended steps for long guns
- firstly smooth out the surface of the plate on a fine sandpaper
- cut all parts from the plate by scalpel
- smooth out the edges of components on a fine sandpaper
- Drill the holes for the eyelets in the back part of gun carriages for the back hoist of gun. Use drill bit 0,5mm.
For the English type of guns carriage - one in the middle.
For the Continental type of guns carriage - two at the edges of the carriages
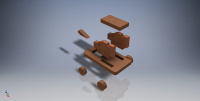
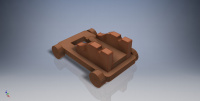
- glued the gun carriage together without of carriage wheels and the bottom of the wedge. I recommend a dispersive glue on the wood
- then painting by varnish or red paint
- gluing a eyelets, recommend eyelets diameter 1,5mm, my code PE-LO1,5/B
- slowly turn and depress the wheels to the axes of gun carriage. Attach the wheels to the axes by this side where the opening is expanded after the laser cutting
- adjust the height of the lower wedge below the center of the carriage so that the gun carriages is exactly seated on the deck. And gluing it. This way increases the area that is stuck to the mount ship board.
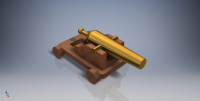
- then you can deploy the gun barrel
Recommended steps for Carronades
- firstly smooth out the surface of the plate on a fine sandpaper
- cut all parts from the plate by scalpel
- smooth out the edges of components on a fine sandpaper
- Drill the holes by drill bit 0,5mm for the eye of gun hoist and tenon of wheel.
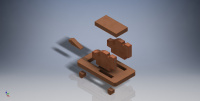
- gluing the guns carriage together without of carriage wheels and the bottom of the wedge. I recommend a dispersive glue on the wood
- then painting by varnish or red paint
- gluing a eyelets, recommend eyelets diameter 1,5mm, my code PE-LO1,5/B
- Attaching wheels to the sides of the base of the guns carriage.
In the type of guns carriage A - using the nails, which must first be shortened to the required length
In the type of guns carriage B - only gluing in to base of guns carriage
- then you can deploy the gun barrel

